Reducing Cart Abandonment In Easy Digital Downloads
Note: The features in this guide requires the Pro plan.
Trying to reduce cart abandonment? Use this guide to show a message offering a coupon to users if they complete their purchase when they try to leave the checkout page in EDD.
Step 1: Create Your Discount Code
In Ahoy, you can either use an existing discount code or Ahoy can automatically create a unique code every time. For this recipe, we will use the simpler method of using an existing discount code.
First, log in to your WordPress admin and go to the “Discount Codes” page in the “Downloads” menu.
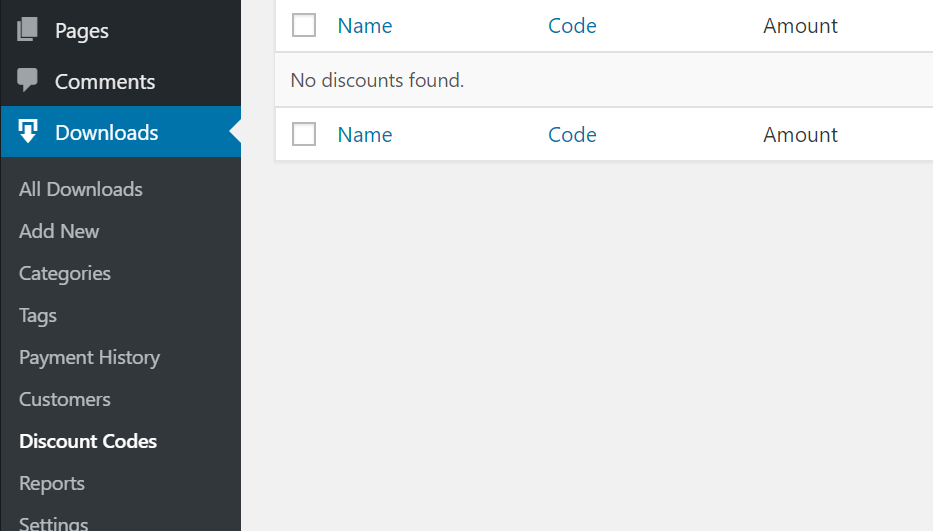
Now, add a new discount code. If you have many discount codes, you may want to name this one something similar to “Ahoy Cart Abandonment” to make it easier to remember what this one is in the future.
From there, enter the actual discount code and percentage discount you would like to offer. You may want to experiment with different offers to see what works best for your site.
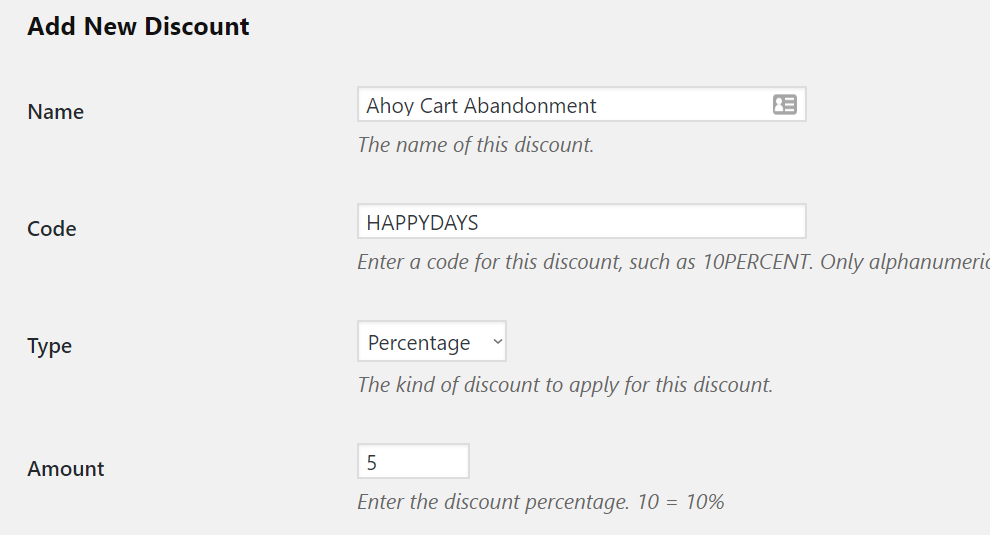
To keep things simple, you can keep the rest of the fields blank and then click “Add Discount Code”.
Step 2: Create Your Ahoy Message
Now that we have our discount code, let's create our message that will be shown to the site visitor. First, go to the “Add New” page in the “Ahoy” menu.

Enter your title which is to help you find the message in the admin. Then, create your message headline and text which will be shown to the site visitors when they see this message.

Step 3: Adjust The Message’s Settings
Now, scroll down to “Message Settings” area. First, click the “Auto” (this first option) for the “What style of message do you want?”
Then, change the “How often should users see this message?” to “Show once then hide the message for X days” to make sure the site visitor doesn’t see the message again if they come back right away.
Also, click the “Exit Intent” checkbox so this message will show when the visitor goes to leave the page.

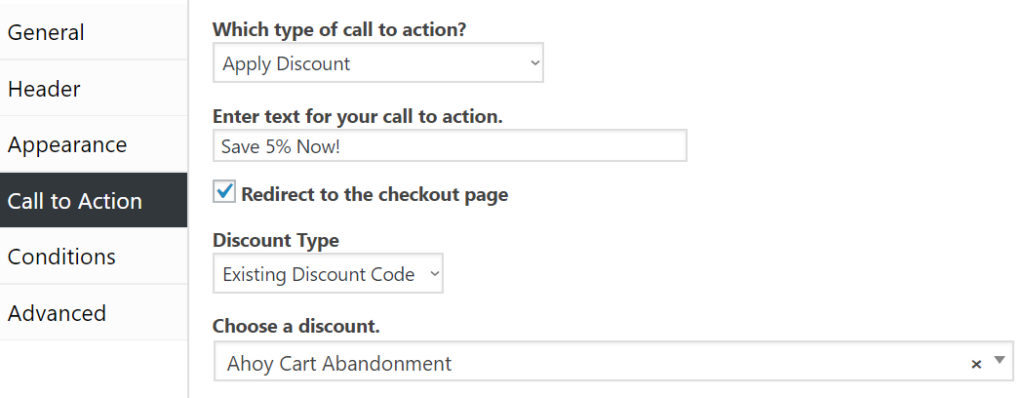
Next, we need to set up the call to action. Switch over to the “Call To Action” settings and select the “Apply Discount” option in the dropdown.
Enter the text you would like on the button in the “Enter text for your call to action.” option.
Click the “Redirect to the checkout page” option.
Select “Existing Discount Code” in the “Discount Type” option.
Lastly, select the discount code you created in step 1 in the “Choose a discount.” option.
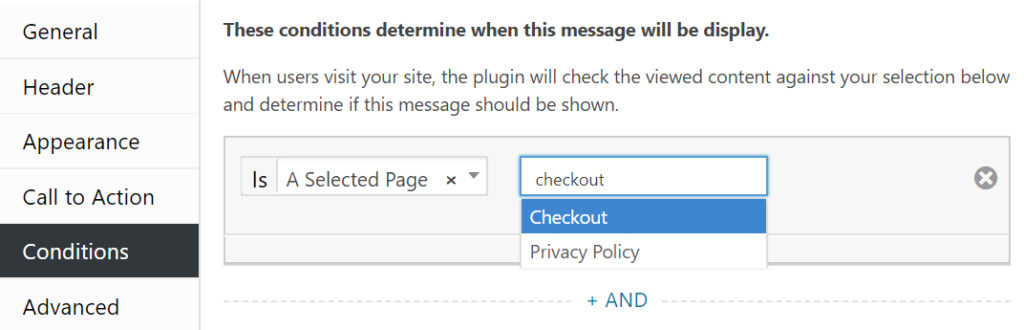
Now, go to the “Conditions” settings. Choose “A selected page” for the condition and search for your checkout page.
Now, you can customize your message using the other settings and then click “Publish”. You should now see this message appear on your checkout page.
